Creating a Bot
This guide walks through creating a new trading bot in VolatiCloud — from the empty Bots list to a fully configured bot ready to start in dry-run mode. Plan on roughly five minutes from first click to running bot.
Prerequisites
Before creating a bot you need three pre-existing resources:
- A Strategy — built in the Strategies section, either via the UI Builder or the Code editor
- An Exchange connection — added in the Exchanges section. For dry-run-only testing, you can use a paper exchange config without real API keys
- A Runner — the infrastructure the bot executes on. No runner is created for you at signup; you either create one (Pro allows 1, Enterprise 10, Starter none) or select a runner another workspace has published as public
Step-by-Step
1. Navigate to Bots
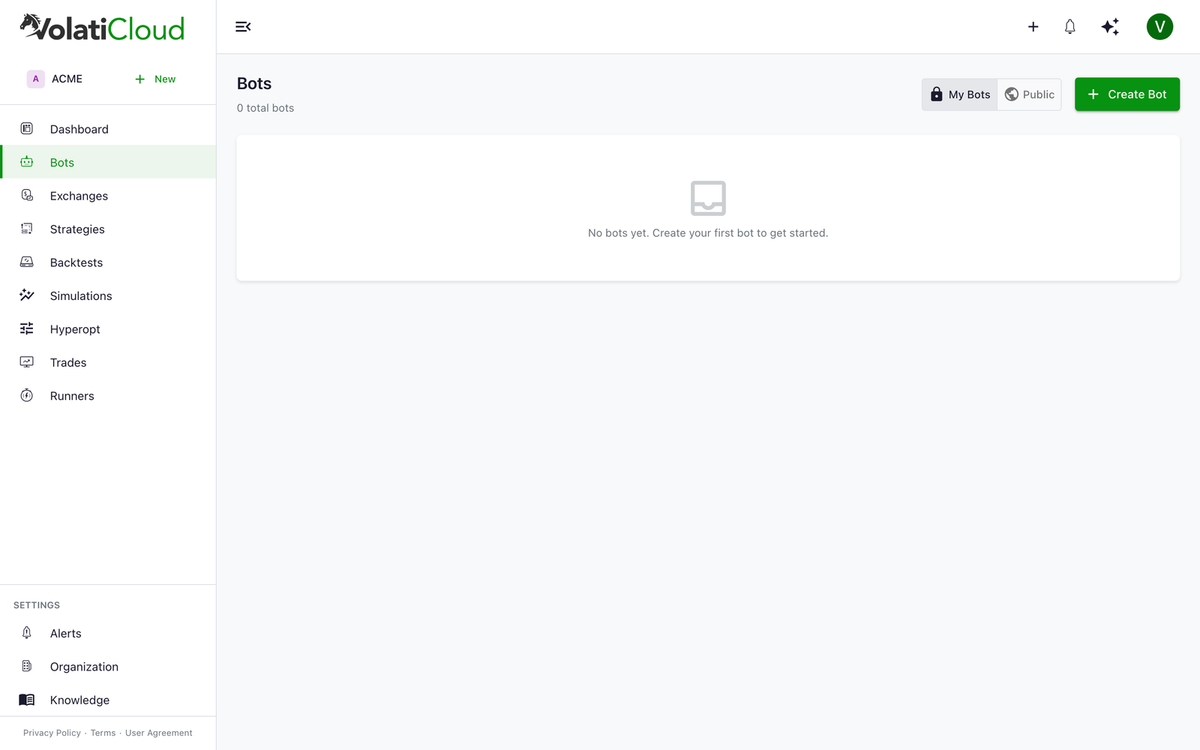
Go to Bots in the main navigation, then click Create Bot.
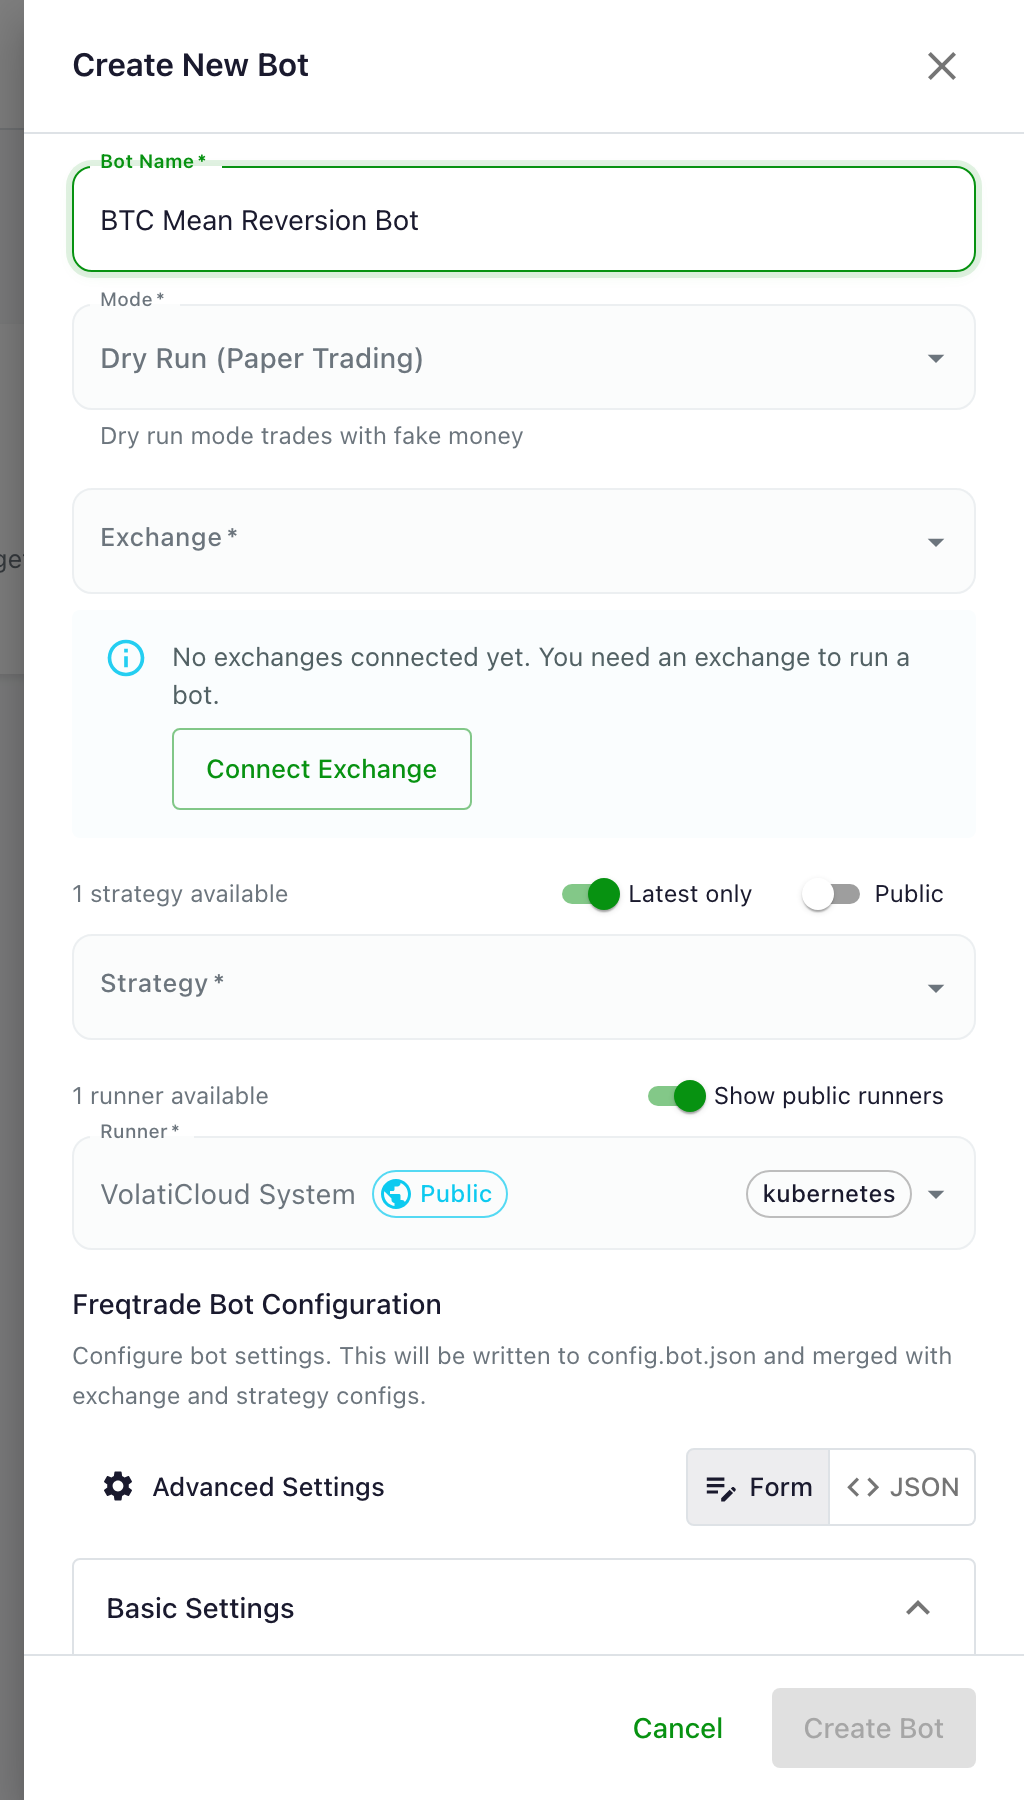
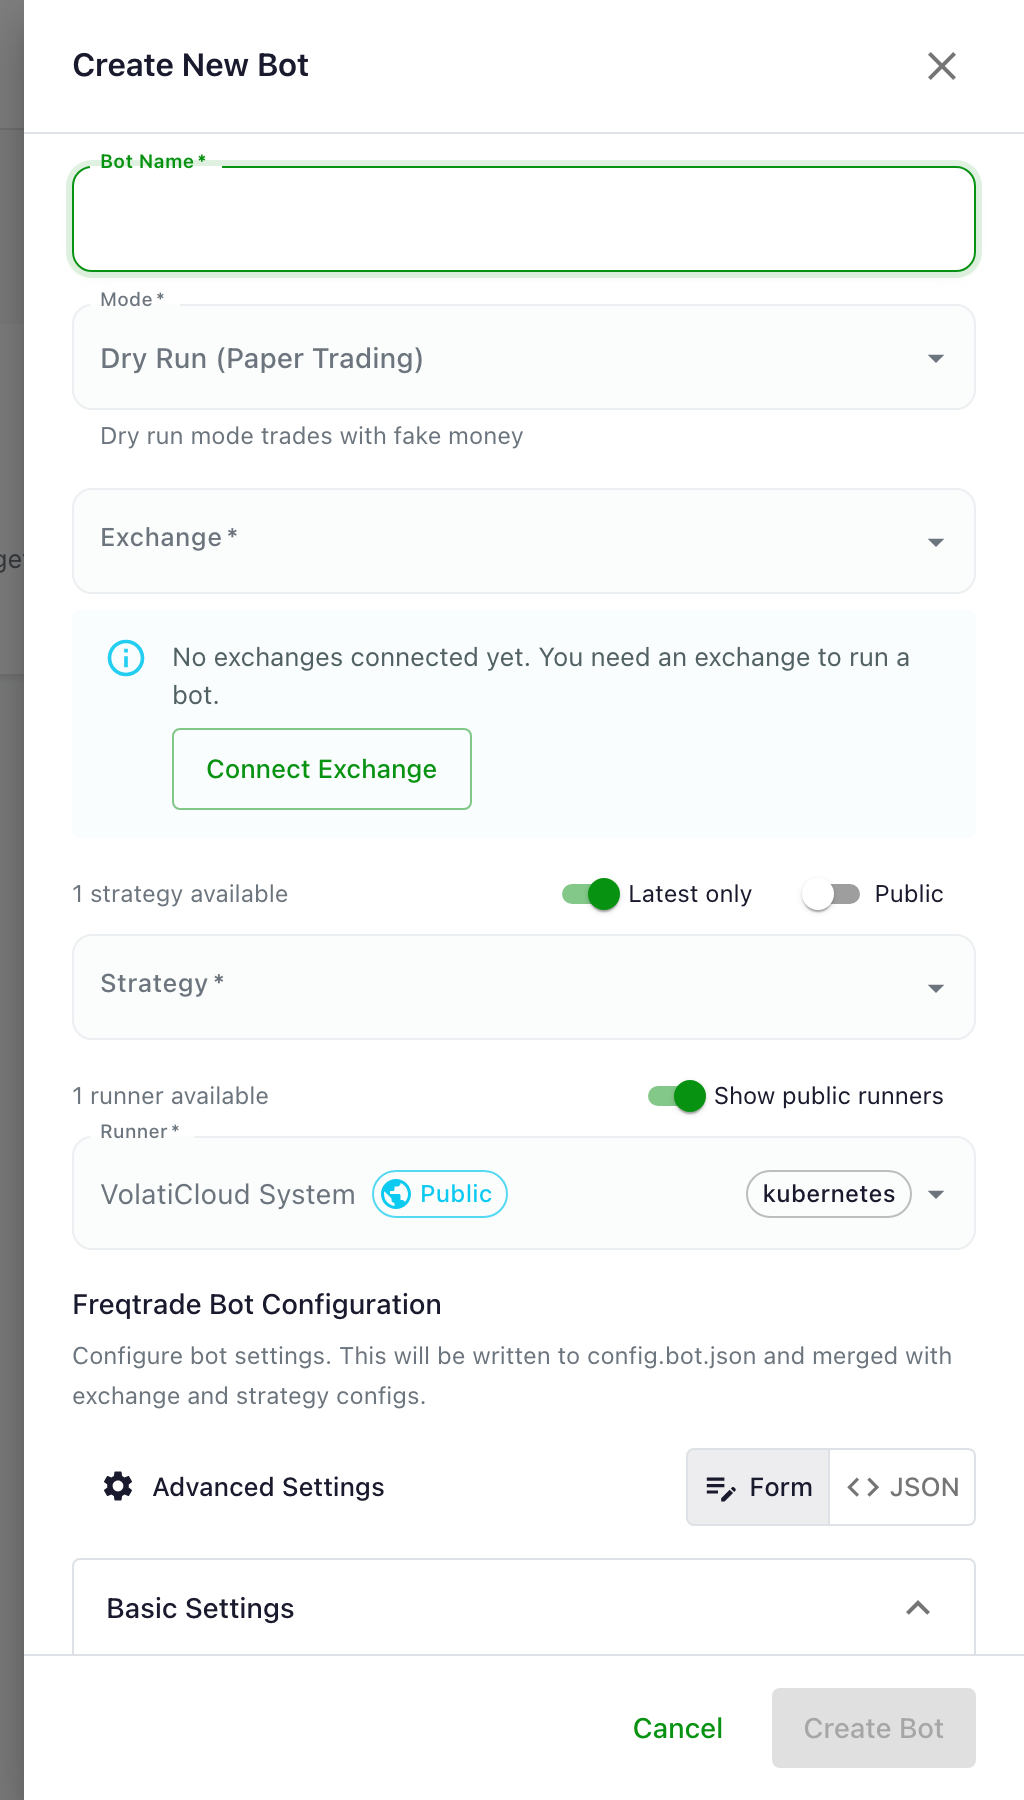
The Create Bot drawer slides in from the right with empty Strategy, Exchange, and Runner selectors waiting to be filled.
2. Select Components
Strategy
- Choose from your available strategies
- Only the latest version of each strategy is shown
- You can view the strategy's backtest statistics before selecting
Exchange
- Select which exchange account to use
- The exchange determines which trading pairs are available
Runner
- Select the infrastructure where this bot will run
- Each runner has its own resource limits and configuration
- The selector lists runners your workspace owns plus any public runners other workspaces have shared. How many runners you can create yourself is capped by your plan — 0 on Starter, 1 on Pro, 10 on Enterprise
3. Configure Trading Settings
| Setting | Description | Example |
|---|---|---|
| Mode | DRY_RUN or LIVE | DRY_RUN for new strategies |
| Stake Currency | The currency used for trades | USDT |
| Stake Amount | Capital deployed per trade (currency or percent of balance) | 50 USDT or 5% |
| Max Open Trades | Maximum simultaneous open positions | 3 |
These four settings interact directly with risk: stake × max-open-trades caps total exposure, and stoploss (set on the strategy) determines max loss per position. The risk management blog post explains how to pick defensible values rather than round numbers.
4. Advanced Configuration
Entry Pricing
- Configure how entry orders are placed (maker/taker)
- Set order timeout behavior
Exit Pricing
- Configure how exit orders are executed
- Set exit order timeout
5. Create the Bot
Click Create Bot. The bot will be created in a stopped state — it won't start trading until you explicitly start it.
Naming Your Bot
Bots are automatically named based on their strategy and exchange. You can rename them from the bot detail page.
Starting After Creation
After creating your bot:
- Go to the Bots list
- Find your new bot (it will show
stoppedstatus) - Click the Start button (▶)
- Watch the status transition:
stopped→creating→running
Always run your bot in Dry Run mode first for at least a few days to validate real-time performance before switching to Live mode.
Bot Limits by Plan
| Plan | Max Bots | Max Bot Runners | Live Trading |
|---|---|---|---|
| Free | 0 | 0 | No |
| Starter | 2 | 0 | Yes |
| Pro | 10 | 1 | Yes |
| Enterprise | 50 | 10 | Yes |
Live trading is available on every paid plan — it needs a connected exchange, not a particular subscription tier. What the plan caps is how many bots you may create, and how many runners you may create to execute them on. A bot can also run on a public runner shared by another workspace, which is how a Starter subscription (runner cap 0) runs a bot at all. See Plans & Pricing for the full matrix.
Free is the one plan with no bots at all. Its bot cap is 0, so this page's flow does not apply until you move to Starter or above — on Free you build and backtest strategies instead. See the Free plan.
Editing a Bot
Three settings are immutable after creation: strategy, exchange, and runner. These are core identity fields — to change any of them, create a new bot. This is intentional, because changing the strategy underneath a running bot would invalidate its trade history.
Settings you can edit:
- Stake amount
- Max open trades
- Entry/exit pricing configuration
- Mode (
DRY_RUN↔LIVE) — stop the bot first
Related
- Bot lifecycle — what happens after you click Start
- Monitoring your bot — real-time trade events and metrics
- Paper trading to live framework — how to validate before flipping to
LIVE