Quick Start Guide
This guide walks you from zero to a paper-trading bot running against real market data in about 20 minutes. By the end, you'll have a strategy, a backtest, an exchange connection, a runner, and a bot in Dry Run mode — no real capital at risk.
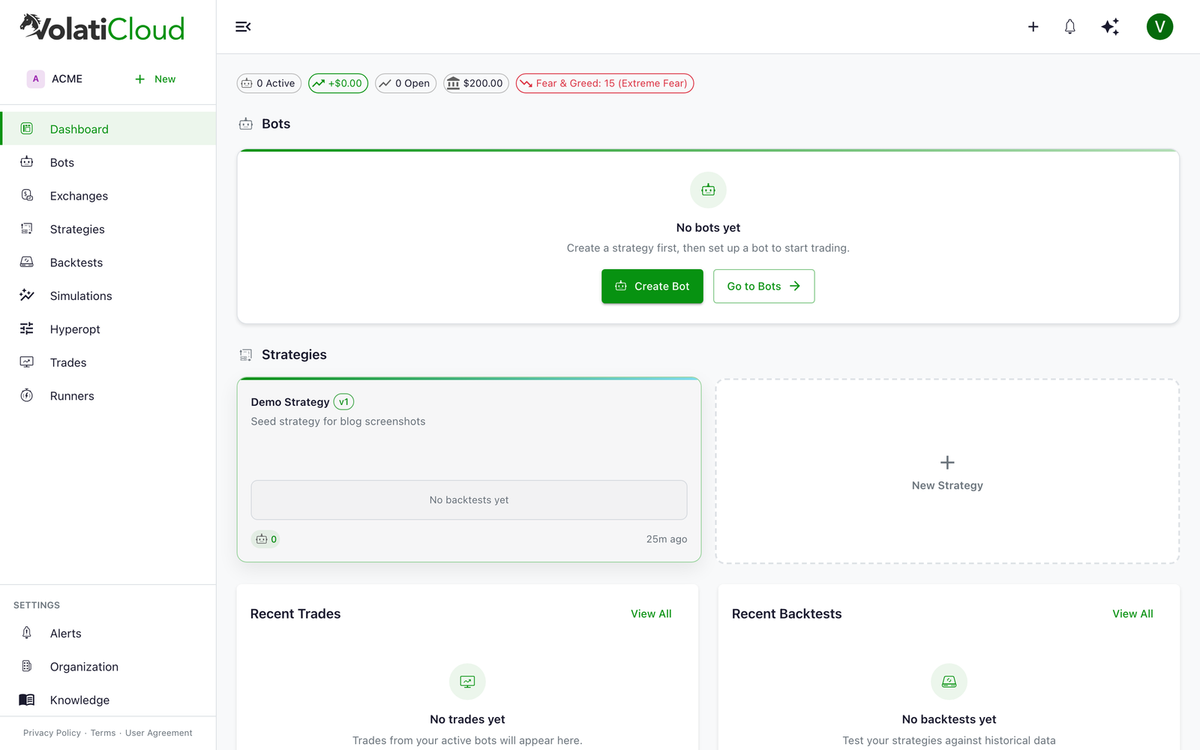
Prerequisites
Before you begin, you'll need:
- A VolatiCloud account — sign up at console.volaticloud.com. A new organization starts on the Free plan, which can build and backtest strategies but has no bots, exchange connections or runners. This quick start needs a paid plan or a trial — every new org is eligible for a 7-day Pro trial with $60 of credits, started from Organization → Billing; a credit card is collected at checkout and nothing is charged before day 7
- A paid plan or an active trial — Steps 4 to 7 below create an exchange connection, a runner and a bot, none of which Free allows
- Exchange API keys — start with a testnet account on Binance or Bybit, or use an existing exchange account with a small dedicated balance
Step 1: Create an Organization
When you first sign in, you'll be prompted to create an organization. This is your workspace — strategies, bots, and runners all live inside it.
- Enter an Organization Name (e.g., "My Trading Team")
- An alias is auto-generated (e.g.,
my-trading-team) — this is used in URLs - Click Create Organization
Step 2: Create a Strategy
Navigate to Strategies → New Strategy.
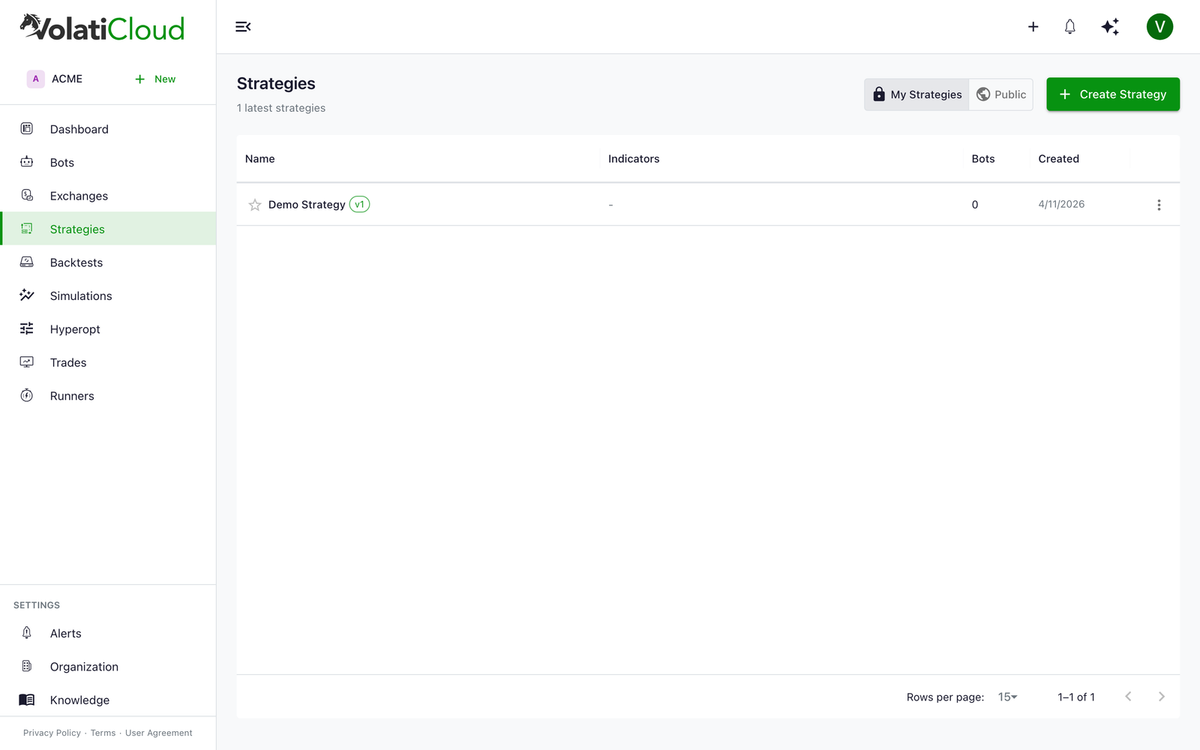
Clicking Create Strategy opens a drawer where you name the strategy and pick an authoring mode.
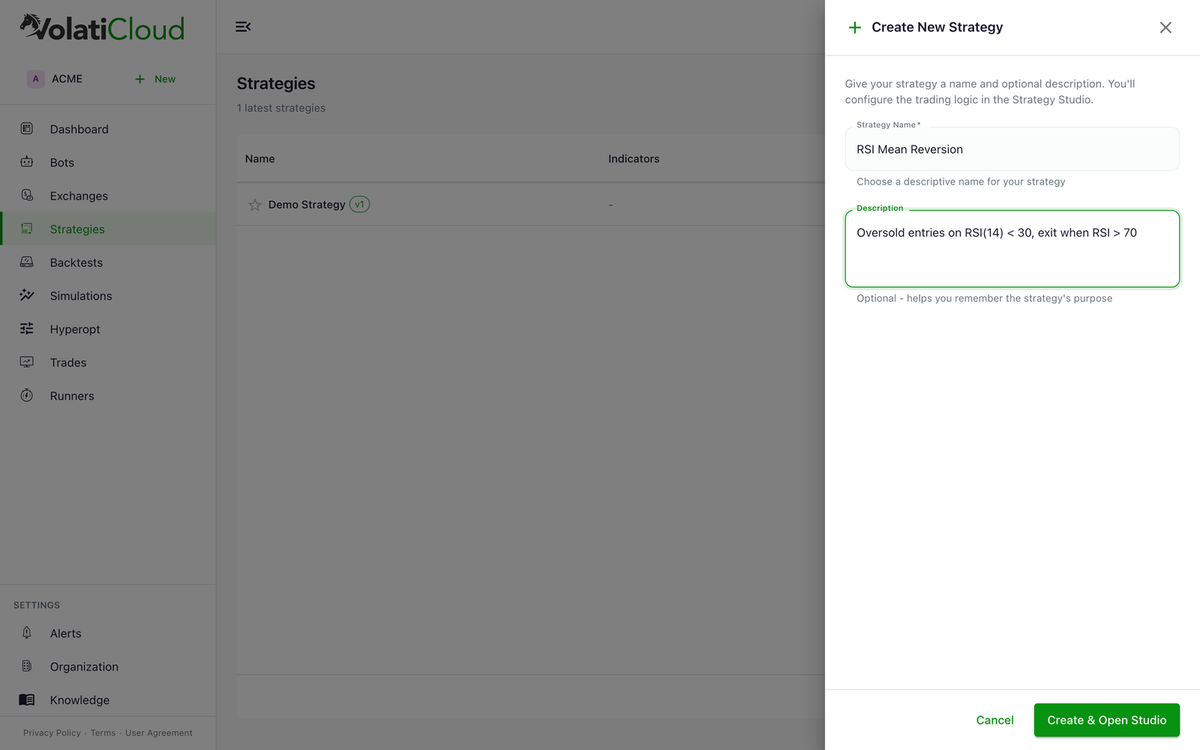
Option A: Use the UI Builder (Recommended for Beginners)
- Click UI Builder mode
- Select a timeframe (e.g.,
1h) - Under Entry Conditions, add a condition:
- Indicator:
RSI - Operator:
<(less than) - Value:
30
- Indicator:
- Under Exit Conditions, add a condition:
- Indicator:
RSI - Operator:
>(greater than) - Value:
70
- Indicator:
- Click Save Strategy
This builds a classic RSI mean-reversion entry — the kind of starting point covered in the RSI mean reversion blog post.
Option B: Use Code Mode
from freqtrade.strategy import IStrategy
from pandas import DataFrame
import talib.abstract as ta

class MyFirstStrategy(IStrategy):
    timeframe = '1h'
    stoploss = -0.10

    def populate_indicators(self, dataframe: DataFrame, metadata: dict) -> DataFrame:
        dataframe['rsi'] = ta.RSI(dataframe, timeperiod=14)
        return dataframe

    def populate_entry_trend(self, dataframe: DataFrame, metadata: dict) -> DataFrame:
        dataframe.loc[dataframe['rsi'] < 30, 'enter_long'] = 1
        return dataframe

    def populate_exit_trend(self, dataframe: DataFrame, metadata: dict) -> DataFrame:
        dataframe.loc[dataframe['rsi'] > 70, 'exit_long'] = 1
        return dataframe
Step 3: Run a Backtest
Always backtest before going live, even in dry-run.
- From your strategy page, click Run Backtest
- Configure:
- Exchange — source of historical data
- Pair — e.g.,
BTC/USDT - Date range — e.g., last 12 months
- Stake amount — e.g.,
100 USDT
- Click Run Backtest
- Review the results — pay attention to profit %, win rate, profit factor, max drawdown
A reasonable retail strategy typically shows:
- Win rate > 50%
- Profit factor > 1.5
- Max drawdown < 20%
If your numbers fall outside these ranges, the strategy may need parameter tuning or different conditions before live deployment. The backtesting deep dive explains each metric in depth.
Step 4: Connect an Exchange
Navigate to Exchanges → Add Exchange.
- Select your exchange (e.g., Bybit)
- Enter your API Key and API Secret
- Click Test Connection to verify before saving
- Click Save
For your first run, use your exchange's testnet or stick to dry run mode (paper trading) to avoid real financial risk. The exchange API key security post covers how to lock down API keys at the exchange level — sub-accounts, minimum scopes, no withdraw permissions.
Step 5: Configure a Runner
A Runner is the server where your bot's Freqtrade process executes. Navigate to Runners → Add Runner.
On managed VolatiCloud plans, a shared cloud runner may already be provisioned. Skip this step if so. Contact support if you need one provisioned.
Docker Runner (Self-Hosted)
- Select Docker runner type
- Enter the Docker host URL (e.g.,
tcp://your-server:2376) - Upload TLS certificates if required
- Click Test Connection to verify
For Kubernetes-backed runners, see Kubernetes runner.
Step 6: Create Your Bot
Navigate to Bots → Create Bot.
- Select Strategy — the one you created in Step 2
- Select Exchange — the one you connected in Step 4
- Select Runner — the one from Step 5 (or a managed cloud runner)
- Configure:
- Mode:
Dry Run— paper trading, recommended for first run - Stake amount:
50 USDT - Max open trades:
3
- Mode:
- Click Create Bot
Step 7: Start Your Bot
From the Bots page:
- Find your new bot in the list
- Click the Start button
- Watch the status transition from
stopped→creating→running
The bot is now fetching market data, applying your entry conditions, and would place orders on the exchange — except in Dry Run mode, those orders are simulated.
Step 8: Monitor Your Bot
Click on the bot from the Bots page to open the detail view:
- Analytics — P&L, win rate, trade count
- Open positions — currently active simulated trades
- Price chart — live candlestick chart for your pair
- Logs — Freqtrade's stdout/stderr stream
- Alerts — configure email notifications for trade events and errors
For real-time monitoring patterns and the full dashboard tour, see the real-time bot monitoring post.
Congratulations
You now have an automated trading bot running on VolatiCloud, executing your strategy against real market data without risking real capital. Here's what to explore next:
- Strategy UI Builder — build more complex strategies visually, with the full indicator library
- Backtesting Overview — read backtest results properly, including risk-adjusted metrics
- Hyperparameter Optimization — tune your strategy parameters without overfitting
- Alerts — get notified when something matters
- Team Management — invite teammates with role-based access
When you're ready to go live, the paper trading to live promotion guide covers the full checklist for moving from Dry Run to real capital.