Reinforcement Learning for Crypto Bots: Build an RL Strategy Without Python

Most algorithmic trading strategies are rules written by humans: "buy when RSI crosses below 30, sell when it crosses above 70." The rules work until market conditions shift, and then you rewrite them. Reinforcement learning takes a different approach — instead of encoding your rules, you define what "good" looks like and let an agent discover the rules on its own through thousands of simulated trades.
VolatiCloud now ships a visual RL Builder inside the Strategy Studio — a no-code interface that lets you pick an algorithm, select indicator features, and edit a reward function using a drag-and-drop expression tree. No Python required. The agent trains on historical data, backtests clean, and deploys identically to any other bot.
What Reinforcement Learning Actually Does
A standard indicator strategy operates on a fixed decision tree: given this price pattern, take this action. An RL agent does something different. It observes a state vector (your chosen indicators and price context), picks an action (buy, sell, hold), and receives a numeric reward signal based on what happened next. Over thousands of training iterations, the agent updates its policy — the internal mapping from state to action — to maximize cumulative reward.
The key insight is that RL separates what you want (the reward function) from how to achieve it (the policy). You don't need to specify the entry/exit rules. You specify that profitable trades with good risk/reward ratios should score high, and let the agent figure out which indicator combinations predict those outcomes.
This is particularly relevant for crypto, where the same technical setup can lead to completely different outcomes depending on overall market structure — a regime-sensitivity that rule-based strategies often handle poorly.
The VolatiCloud RL Builder
VolatiCloud's RL Builder sits inside the Strategy Studio as a dedicated RL tab, available on Pro and Enterprise plans. When you enable RL mode, the signal, mirror, and entry/exit tabs are hidden — the RL agent owns those decisions entirely.
The builder has four configurable sections:
1. Algorithm
Choose from six algorithms, all powered by the Stable-Baselines3 library running inside Freqtrade's FreqAI engine:
| Algorithm | Family | Notes |
|---|---|---|
| PPO (Proximal Policy Optimization) | sb3 | Default; stable and broadly applicable |
| A2C (Advantage Actor-Critic) | sb3 | Faster training, more variance |
| DQN (Deep Q-Network) | sb3 | Discrete action spaces; solid baseline |
| QR-DQN (Quantile Regression DQN) | sb3-contrib | Distributional RL; models outcome uncertainty |
| TRPO (Trust Region Policy Optimization) | sb3-contrib | Conservative updates; avoids catastrophic forgetting |
| Maskable PPO | sb3-contrib | Masks invalid actions at each step |
For most users starting out, PPO is the right default: it trains reliably, recovers well from early poor decisions, and produces consistent backtests. QR-DQN is worth exploring once you have a baseline — its distributional Q-function gives you a richer picture of how the agent estimates trade outcomes.
2. Feature Indicators
The agent sees the market through a feature vector assembled from the indicators you select. This works with the same indicator library as the visual Signal Builder — RSI, EMA, MACD, Bollinger Bands, ATR, Stochastic, and more — each with configurable parameters.
The training process maps each bar's indicator values to the agent's observation space. More features give the agent more signal to work with; too many features for the training window create overfitting. A strong starting point:
- RSI(14) — momentum state
- EMA(20) — short-term trend direction
- ATR(14) — volatility context
Add correlated pair indicators and informative timeframes once you have a working baseline. Each added feature multiplies the dimensionality the agent must learn — start lean, validate, then expand.
3. Training Configuration
Two sliders control the rolling-window training schedule:
- Train period (days): How much historical data each training cycle uses. Range 5–90 days. Longer windows give the agent more data but dilute recent regime patterns.
- Use (backtest) period (days): How long the trained model is deployed before retraining. Range 1–45 days. Shorter retraining windows adapt faster; longer windows reduce training overhead.
The model identifier namespaces the trained weights on disk — useful when running multiple RL strategies on the same runner, since each identifier gets its own user_data/models/ directory.
4. Reward Expression
This is the most consequential configuration in the RL Builder. The reward function tells the agent what outcomes to pursue. You edit it visually as an expression tree rather than Python.
Three curated templates are available as starting points:
Balanced (recommended for first experiments) Rewards the agent in proportion to unrealized P&L, scaled by a configurable risk/reward factor:
pnl × param:rr(default=1)
Trend-follow Amplifies P&L while in a position and adds a duration bonus to encourage holding winning trades, clamped to prevent any single step from dominating:
clamp( (pnl × 2) + (trade_duration × 0.01), -2, 4 )
Mean-revert Tightens the P&L signal and penalizes holding positions too long — appropriate for range-bound markets where mean-reversion opportunities close quickly:
clamp(pnl, -1, 2) − (trade_duration × 0.005)
Each template loads as a live, editable tree. You can swap individual nodes — change a multiplication to an addition, replace a constant with a named model parameter, add conditional branches — without knowing the underlying math syntax. The expression tree compiles to valid Python at save time.
In practice, the reward function has a larger effect on agent behavior than the algorithm choice. Get the reward right first — run backtests with the Balanced template, analyze whether the agent's trades match your intent, then adjust the shaping. Only switch algorithms once you have a stable reward baseline.
How to Build Your First RL Strategy
-
Create a strategy in the Strategy Studio using UI Builder mode. On the Logic tab, enable RL mode — this activates the RL tab and hides the signal tabs.
-
Select your algorithm. Start with PPO.
-
Add 2–4 indicators to the feature set. RSI(14) + EMA(20) is a reliable starting set.
-
Configure training windows. Try 30-day train / 7-day use as a starting point — enough history to capture regime variation without over-weighting stale patterns.
-
Select a reward template. Start with Balanced. The reward drives behavior — simpler is better until you know what the agent is learning.
-
Run a backtest from the Strategy Studio toolbar. The backtest will train the RL model on the first
train_period_daysof data, then evaluate it over the remaining period using the rolling use-window schedule. -
Analyze the results on the backtest results page. Pay attention to trade duration and drawdown — an RL agent that's rewarded purely for P&L will sometimes take on excessive duration or concentration risk. Adjust the reward to address that behavior.
FreqAI training runs the Stable-Baselines3 training loop, which needs more memory than standard backtests — plan for at least 4 GB of available RAM on the runner executing the backtest. The training status surfaces in the console while the backtest runs.
Presets: Starting From a Known-Good Configuration
If you prefer starting from a validated configuration rather than building from scratch, the RL preset picker provides complete configurations — algorithm, features, timeframe, and reward — derived from community-tested templates.
Presets are available from the Create Strategy drawer when you select the RL path. Picking one seeds a fully configured RL builder section that you can then modify, reducing the cold-start configuration burden significantly.
RL vs Hyperopt: Which Should You Use?
Both RL and hyperparameter optimization modify strategy behavior based on historical data, but they're solving different problems:
| Hyperopt | RL | |
|---|---|---|
| What changes | Parameters (e.g. RSI threshold) | Policy (which action to take in each state) |
| Rules | Fixed, human-authored | Learned by the agent |
| Data efficiency | Low training cost | Higher training cost |
| Adaptability | Requires manual re-optimization | Retrained on a rolling window |
| Best for | Fine-tuning known strategies | Discovering new policy structures |
For most users: start with a rule-based strategy, backtest it, and optimize parameters with Hyperopt. Move to RL when you want to test whether a learned policy outperforms your hand-coded rules on the same signal set. See Freqtrade Hyperopt: Optimize Strategy Parameters Without Overfit for the Hyperopt workflow.
The two approaches also compose: you can run Hyperopt on the FreqAI config parameters (train window, reward constants) that shape RL training — letting Hyperopt tune the meta-parameters while RL learns the trading policy itself.
Deploying an RL Bot
Once you're satisfied with the backtest results, deploying an RL bot follows the same path as any other strategy:
- Create a bot from the bot management page, attaching the RL strategy, an exchange connection, and a runner.
- The bot's first run will trigger a model training cycle using the configured train period.
- After training completes, the agent starts trading using the
use_period_dayswindow. - The runner retrains automatically on the rolling schedule you configured — no manual intervention required.
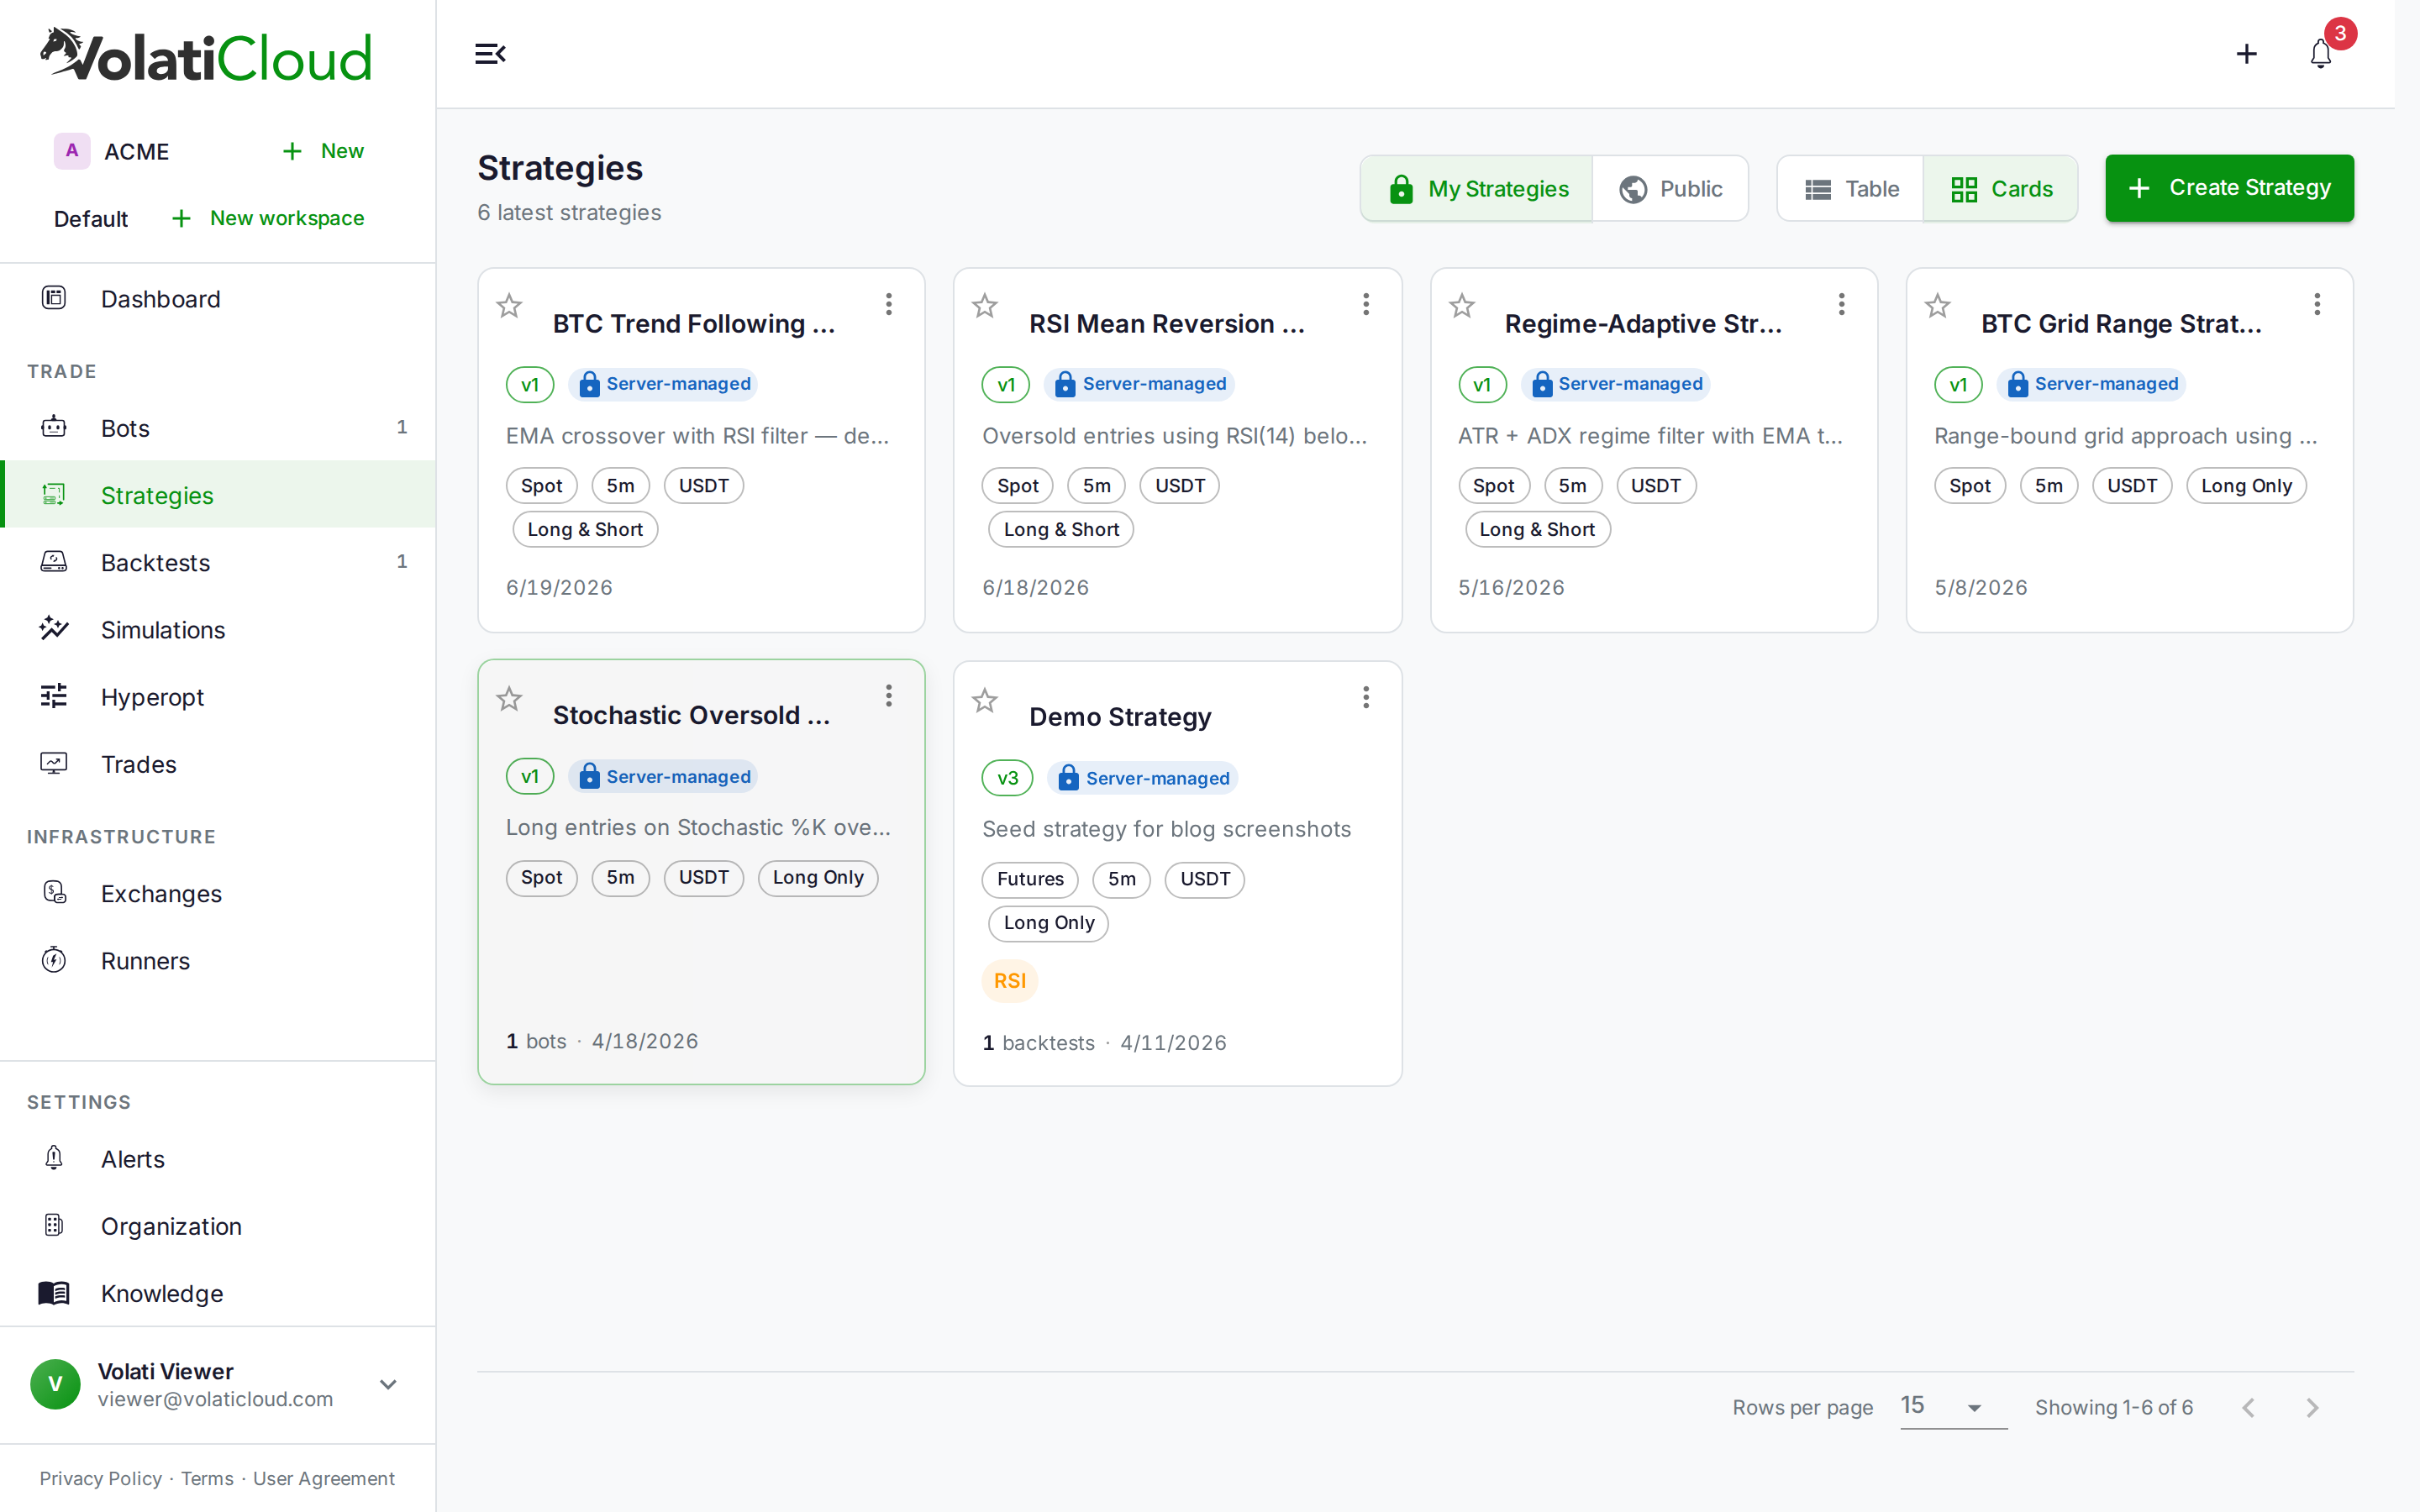
The strategy carries an RL chip badge in the strategies list and bot views, so you can identify RL-backed bots at a glance.
Getting Started
The visual RL Builder is available on VolatiCloud's Pro and Enterprise plans. If you're currently on a Starter plan, upgrading to Pro gives you full access to evaluate RL alongside the other Pro features — Monte Carlo simulation, Hyperopt, and the code analyzer. An organization that has never held a subscription can start a 7-day Pro trial instead: a card is required at checkout, nothing is charged before day 7, and the trial converts to paid Pro on day 7 unless you cancel.
Suggested first experiment: take a strategy you've already validated with Hyperopt, port its indicators to the RL feature set, use the Balanced reward, and run a parallel backtest on the same date range. The comparison tells you whether the learned policy adds value over your hand-coded rules.
Open the Strategy Studio and enable RL from the Logic tab, or read the UI Builder docs for a full walkthrough of the Strategy Studio interface. For backtest setup and result interpretation, see the backtesting overview.